페이퍼 플라워 제작 팁 3가지: 생화 같은 완성도를 만드는 디테일
Transitioning from a hobbyist to a professional artist requires a deep understanding of your materials. While basic skills get you started, these three paper flower crafting tips focusing on grain, edges, and structure will give your cardstock blooms a high-end, realistic soul. Today, I’m sharing the “invisible details” that I refined over 6 years of professional practice at Seulpaper.
취미를 넘어 프로 작가의 영역으로 들어서기 위해서는 재료에 대한 깊은 이해가 필수적입니다. 기초 기술도 중요하지만, 종이의 결이나 단면 처리 같은 페이퍼 플라워 제작 팁을 익히는 것이야말로 작품에 생화 같은 생명력을 불어넣는 핵심이에요. 오늘은 제가 슬페이퍼를 운영하며 6년 동안 다듬어온, 보이지 않지만 결정적인 ‘한 끗 차이’를 나누어 보겠습니다.
The Science of Cardstock: Why Detail Matters
디테일이 페이퍼 플라워 제작 팁의 핵심인 이유
Unlike flexible crepe paper, cardstock has a structural “will” of its own. Mastering these paper flower crafting tips allows you to work with the paper rather than against it. When we respect the grain and finish every edge, we transform a flat sheet of paper into a durable, architectural masterpiece.
유연한 주름지와 달리, 색지는 고유의 구조적인 ‘결’과 성질을 가지고 있습니다. 이러한 페이퍼 플라워 제작 팁을 마스터하면 종이와 싸우는 것이 아니라, 종이의 성질을 이용해 예술을 할 수 있게 됩니다. 우리가 종이의 결을 존중하고 단면 하나하나를 정성껏 마감한다면 평평한 종이는 비로소 견고하고 아름다운 입체 작품으로 거듭납니다.
3 Pro-Level Paper Flower Crafting Tip
작품의 격을 높이는 페이퍼 플라워 제작 팁 3가지
1. Respecting the Paper Grain
종이의 ‘결’을 이해하는 테크닉

- The Insight: Every sheet of cardstock has a grain direction. If you cut against it, your petals will crease or snap instead of curving smoothly.
- The Pro Tip: This is a vital paper flower crafting tip: fold the paper slightly to find the “path of least resistance.” Always align the vertical axis of your petal with the grain for a perfect, organic curve.
- 내용: 모든 색지에는 결(Grain)이 있습니다. 결을 무시하고 재단하면 꽃잎을 굴릴 때 부드러운 곡선 대신 종이가 툭 꺾이거나 거친 자국이 남게 됩니다.
- 슬페이퍼의 팁: 가장 중요한 페이퍼 플라워 제작 팁 중 하나는 종이를 살짝 구부려 보아 더 잘 휘어지는 방향을 찾는 것입니다. 꽃잎의 세로 중심선이 종이 결 방향과 일치하도록 재단해야만 자연스럽고 매끄러운 곡선을 얻을 수 있습니다.
2. Refining the Raw Edges
꽃잎의 하얀 ‘단면’ 마감하기
- The Insight: Exposed white edges on dark or vibrant cardstock scream “paper craft.” To achieve realism, we must hide the medium.
- The Pro Tip: Use a matching ink pad or slightly curl the very edge of the petal inward. This paper flower crafting tip removes the flat, 2D look and adds depth that mimics a real botanical specimen.
- 내용: 진한 색상의 색지를 자른 후 옆면에 하얀 단면이 그대로 드러나면 ‘종이 인형’ 같은 이질감이 느껴집니다. 생화처럼 보이려면 이 재료의 특성을 감춰야 해요.
- 슬페이퍼의 팁: 꽃잎 색상과 비슷한 잉크 패드로 단면을 살짝 터치하거나, 송곳으로 끝을 굴려 단면이 정면에서 보이지 않게 처리해 보세요. 이 작은 페이퍼 플라워 제작 팁 하나가 작품에 깊이감과 고급스러움을 더해줍니다.
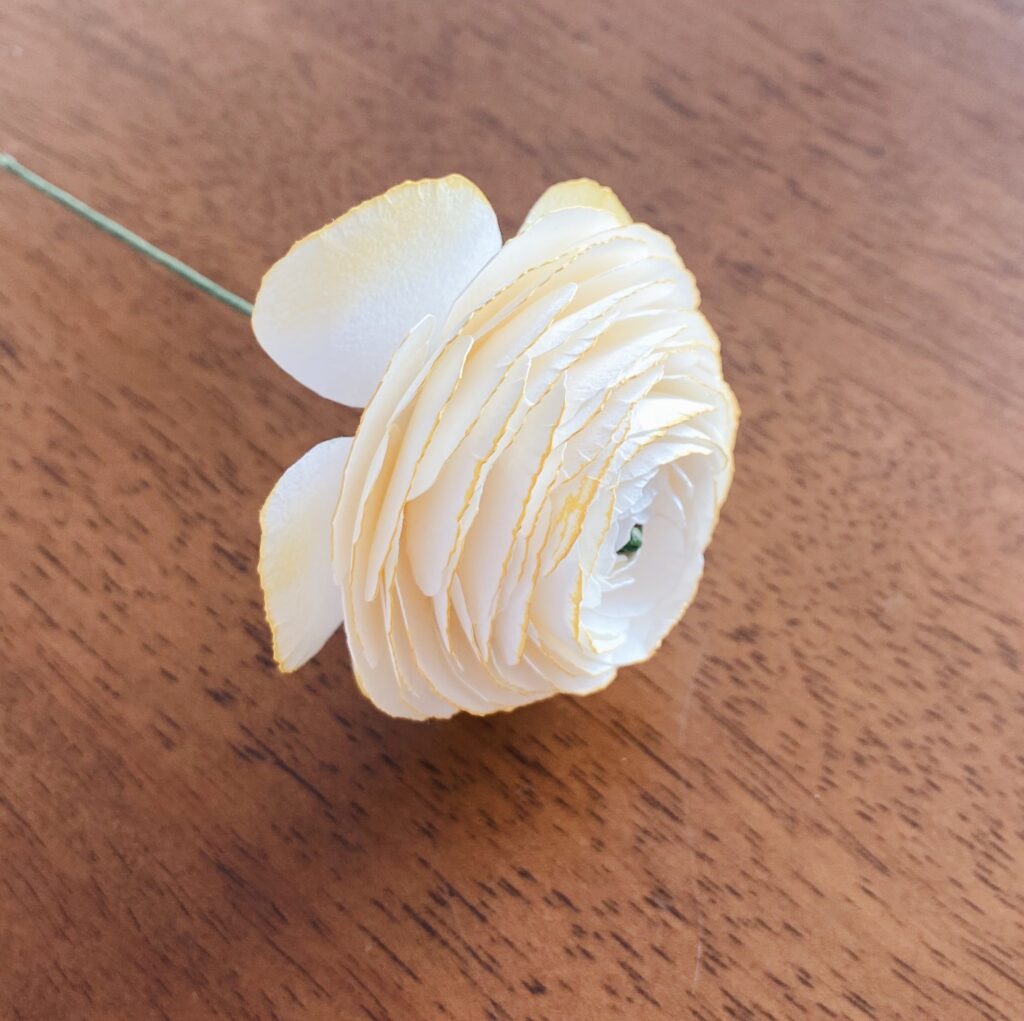
3. Mastering Assembly Heights
입체감을 결정짓는 높낮이 조절
- The Insight: Flat assembly leads to flat flowers. Real flowers have a tiered, spiraling structure.
- The Pro Tip: One of the most overlooked paper flower crafting tips is varying the height of each petal layer. Start higher at the center and gradually lower the petals as you move outward to create a dynamic, 3D silhouette.
- 내용: 모든 꽃잎을 같은 높이로 붙이면 꽃이 쟁반처럼 평평해져 생동감이 사라집니다. 실제 꽃은 층층이 쌓인 입체적인 구조를 가지고 있죠.
- 슬페이퍼의 팁: 많은 분이 놓치는 페이퍼 플라워 제작 팁은 꽃잎 층마다 높이를 다르게 주는 것입니다. 중심부는 높게, 바깥쪽으로 갈수록 살짝 낮게 배치하여 입체적인 실루엣을 만드세요.
Comparison: Flat vs. Realistic Construction
비교표: 평면적인 꽃 vs 생동감 있는 꽃의 차이
| Feature (특징) | Flat Approach (평면적 구성) | Realistic Paper Flower Crafting Tips |
| Grain (종이 결) | Ignored (무시) | Aligned for curves (결 방향에 맞춤) |
| Edge (단면 마감) | Raw/White (하얗게 노출됨) | Inked/Concealed (색상 처리/숨김) |
| Structure (구조) | Uniform height (동일한 높이) | Tiered/Varying heights (층별 높이 조절) |
FAQ: Deep-Dive into Paper Flower Crafting Tips
자주 묻는 질문: 페이퍼 플라워 제작 팁 심화 질문
- Q: How do I find the grain on a small scrap of paper?
- A: Gently bend the scrap in both directions. The direction that feels “bouncy” and resists less is the grain direction.
- Q: Is inking edges necessary for every flower?
- A: It’s an essential paper flower crafting tip for dark colors like deep red or forest green, but optional for very light pastels.
- Q: My flower looks like a funnel, not a bloom. What happened?
- A: You might be centering your petals too tightly or too high. Try opening the outer petals more horizontally to create a “blooming” effect.
- Q: 작은 자투리 종이에서 결을 어떻게 찾나요?
- A: 종이를 양방향으로 아주 살짝만 구부려 보세요. 저항감이 적고 부드럽게 넘어가는 쪽이 결 방향입니다.
- Q: 모든 꽃잎 단면을 잉크로 칠해야 하나요?
- A: 짙은 레드나 그린 컬러에서는 필수적인 페이퍼 플라워 제작 팁이지만, 아주 연한 파스텔톤 종이에서는 생략해도 무방합니다.
- Q: 꽃이 생화 같지 않고 깔때기 모양이 돼요.
- A: 꽃잎을 너무 촘촘하거나 높게만 붙였을 가능성이 커요. 바깥쪽 꽃잎일수록 각도를 눕혀서 ‘피어나는’ 느낌을 주어야 합니다.
Advanced Expert Checklist
심화 단계 전문가 체크리스트
- Did you check the grain before cutting each petal?
- 재단 전 결 방향을 확인했나요?
- Are there any visible white edges on the petals?
- 꽃잎 옆면에 하얀 단면이 보이지 않나요?
- Does the flower show a clear height difference between layers?
- 층별 높이 변화가 뚜렷한가요?
The Soul is in the Details
디테일이 작품의 영혼을 만듭니다
Mastering these paper flower crafting tips is about developing a “dialogue” with your paper. When you pay attention to the grain, the edges, and the structure, your work stops being a craft and starts being art. Keep experimenting with these professional paper flower crafting tips, and watch your cardstock flowers transform into something truly extraordinary.
이러한 페이퍼 플라워 제작 팁을 익히는 과정은 종이와 대화하는 법을 배우는 것과 같습니다. 결을 살피고, 단면을 다듬고, 구조를 고민할 때 여러분의 작업은 단순한 공예를 넘어 예술이 됩니다. 오늘 공유한 전문적인 페이퍼 플라워 제작 팁들을 직접 적용해 보며, 여러분의 손끝에서 더욱 특별한 꽃들이 피어나길 바랍니다.
True art is the accumulation of invisible efforts. Your attention to these small details will surely bloom into something magnificent.
진정한 예술은 보이지 않는 노력들이 쌓여 완성됩니다. 여러분이 기울인 작은 디테일들이 모여 결국 눈부신 꽃으로 피어날 거예요.
[Take Your Next Step]
💬 Share: Which of the 3 tips was the most “Aha!” moment for you?
오늘 팁 중 가장 무릎을 치게 만든 부분은 어디인가요?
📍 Pin it: Save this guide for your studio practice.
여러분의 작업실 가이드로 이 포스팅을 저장해 보세요.
🔗 Check also: Did you miss our previous guide? [Avoid these 3 Beginner Mistakes]
혹시 이전 가이드를 놓치셨나요? [초보자 실수 3가지] 포스팅을 확인해보세요:)