Hello, Guys! In my previous post, we covered the foundational materials like paper and scissors. After reading that, you might have wondered, “Are basic tools really enough?” While you can certainly create beautiful blooms with just the basics, the “lifelike detail” we often admire actually originates from the delicate touch of the right auxiliary tools for paper flower art.
Having spent over five years in the field of paper floristry, I’ve realized that tools are not merely means to make work easier; they are conduits that manifest an artist’s imagination into reality. Today, we’re going to step beyond the beginner stage and dive deep into the auxiliary tools for paper flower art that will elevate your work to a professional level.
이 포스트의 한글 버전은 네이버 블로그에 별도로 정리해두었습니다. 한국어 버전은 여기를 클릭해주세요.
Breathing Life into Flat Paper: Ball Tools and Dotting Pens
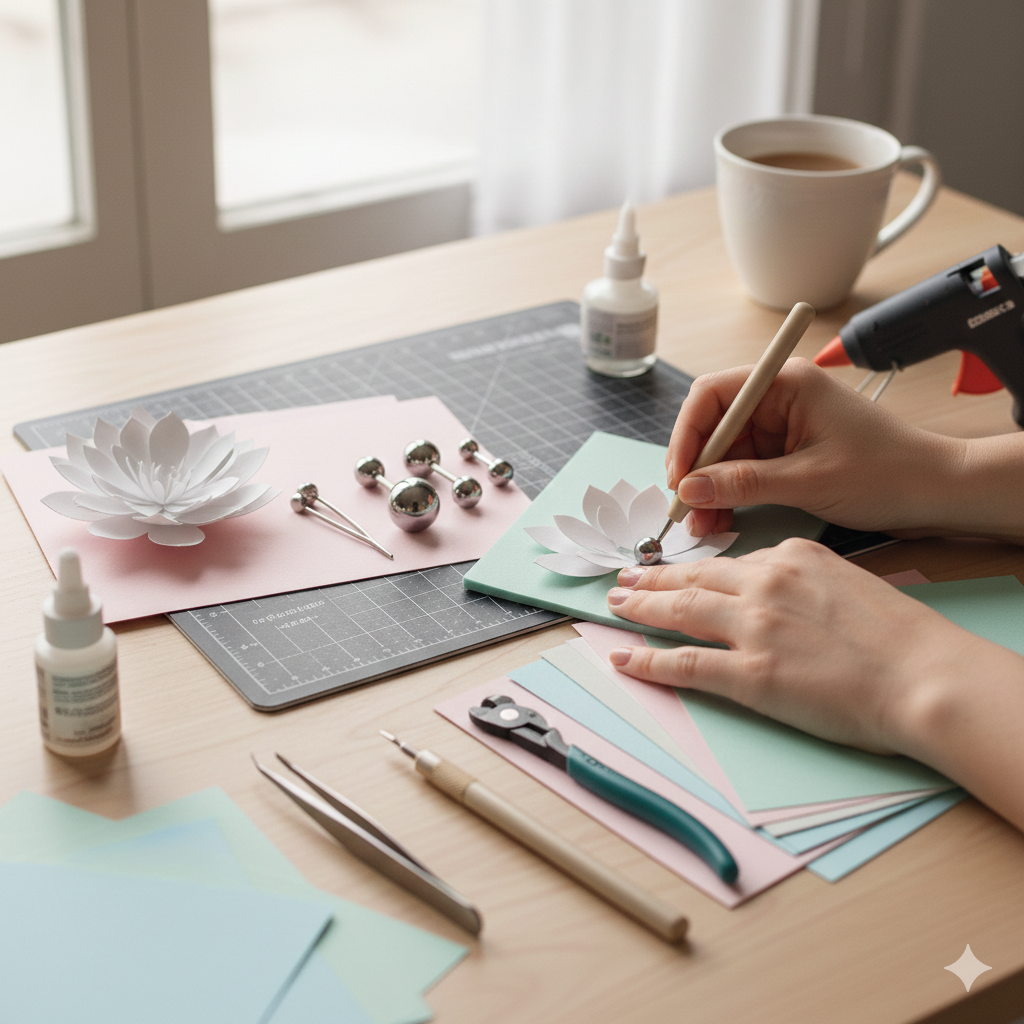
The most significant difference between cardstock and crepe paper lies in its “flatness.” Since cardstock lacks the inherent texture and elasticity of crepe paper, many artists struggle with how to breathe three-dimensional life into it. Real petals possess their own unique curves and concave volumes. This is where the most decisive auxiliary tools for paper flower art come into play: the ball tool.
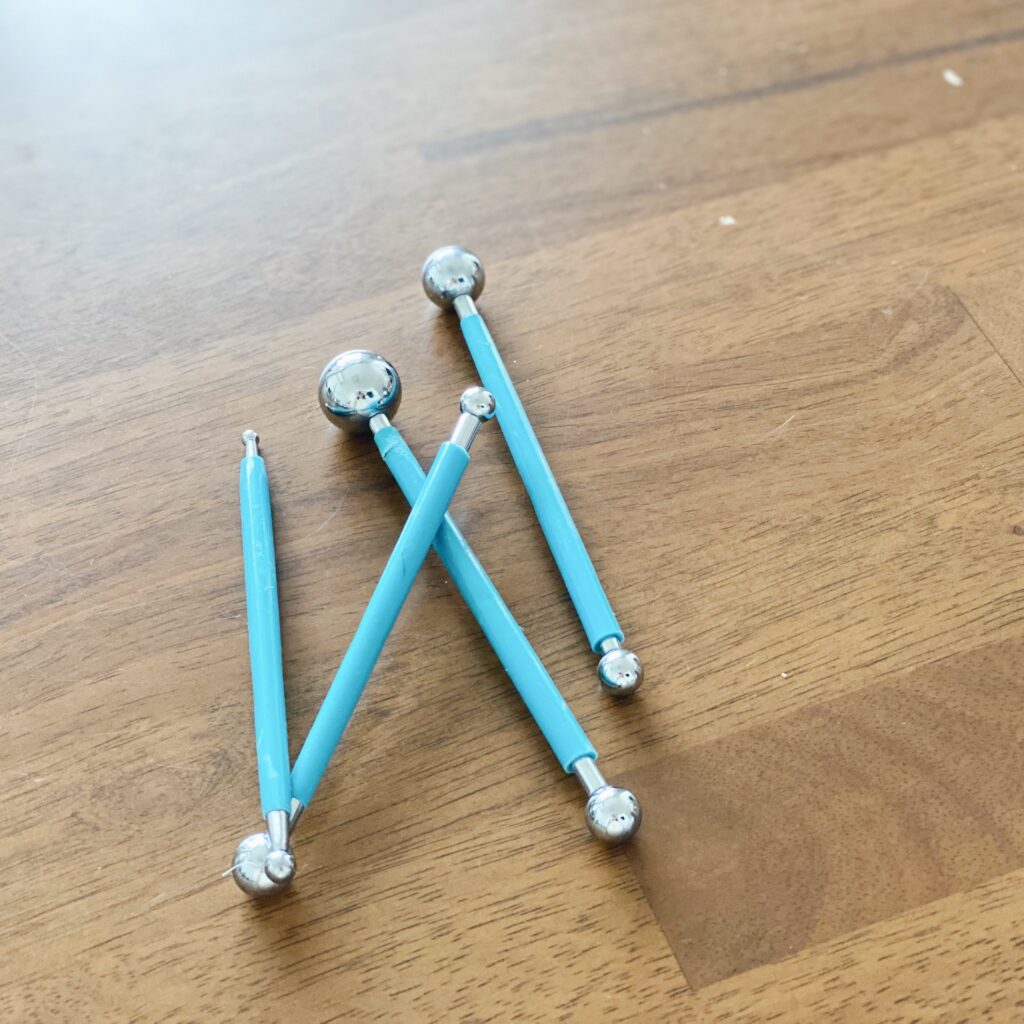
A ball tool, as the name suggests, features a smooth, spherical tip designed to gently stretch and shape paper fibers. When creating the cupped centers of peonies or the layered petals of a rose, place your cardstock on an embossing mat and move the ball tool in a circular motion. This technique allows for a much smoother and more consistent curvature than trying to shape it with your fingertips alone.
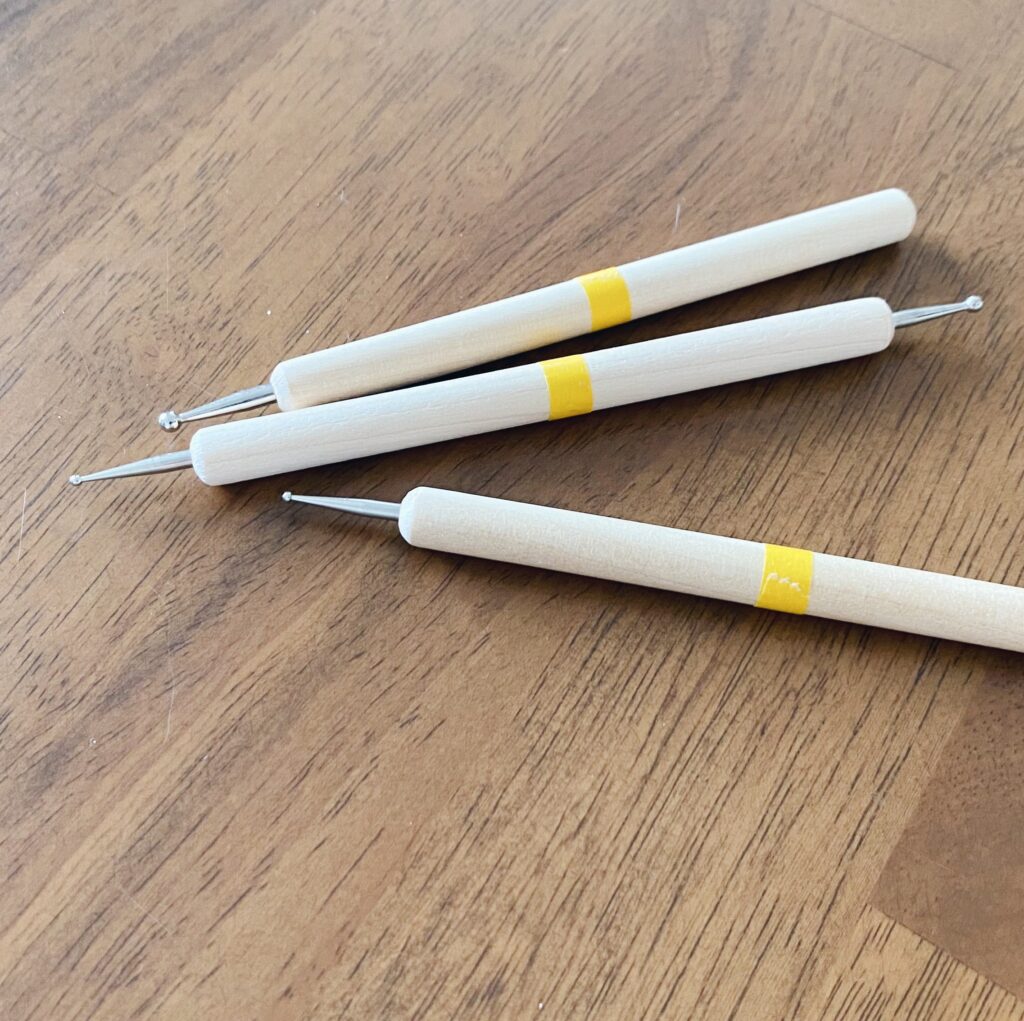
A similar set of auxiliary tools for paper flower art includes “dotting pens.” These are slightly smaller and thinner than standard ball tools, making them perfect for expressing volume in tiny blossoms or creating natural-looking veins in leaves.
When I first started as a self-taught artist, I tried to solve every shaping problem with a simple awl. However, once I experienced the delicate pressure control offered by auxiliary tools for paper flower art like ball tools and dotting pens, I discovered a realm of artistry that an awl simply cannot reach. Once you experience the depth of field these tools provide, you’ll find it hard to go back to your old ways.
The Secret to Flawless Assembly: Precision Tweezers
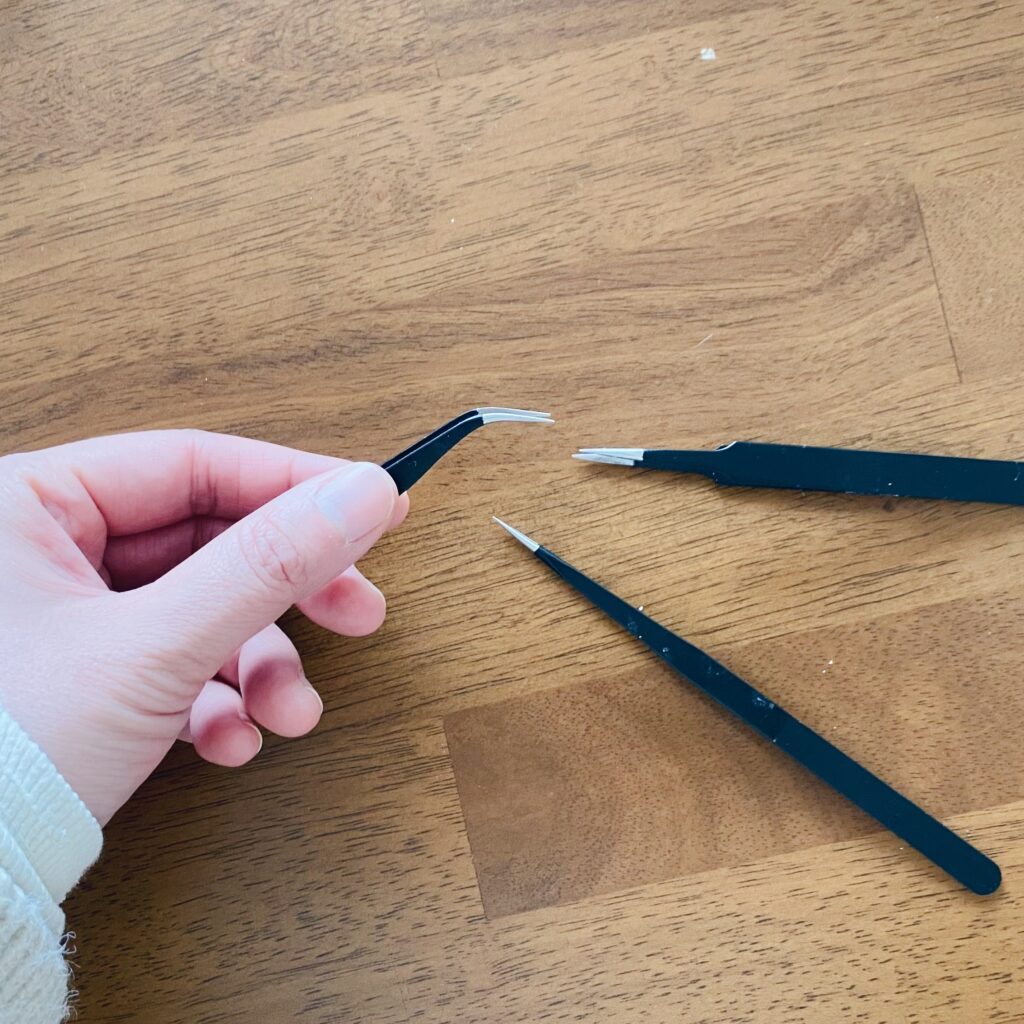
Once you move past the initial shaping and into the mid-stages of a project, you reach the intricate assembly phase. This involves attaching tiny stamens or delicately curling the very edges of a petal. At this stage, our fingers can often feel too “bulky.” (In fact, my own hands are quite large and blunt—haha!) This is why the auxiliary tools for paper flower art I reach for most often on my workbench are precision tweezers.
I highly recommend keeping two types: straight-tip tweezers and curved-tip tweezers. Beyond just picking up small items, these auxiliary tools for paper flower art serve to hold the angle of a petal while the adhesive sets or to slide a stamen into a narrow gap with surgical precision. Using tweezers also prevents adhesive from getting on your hands and contaminating the paper, which significantly increases the overall cleanliness and professional finish of your work.
Innovation in Mass Production: Digital Cutting Machines
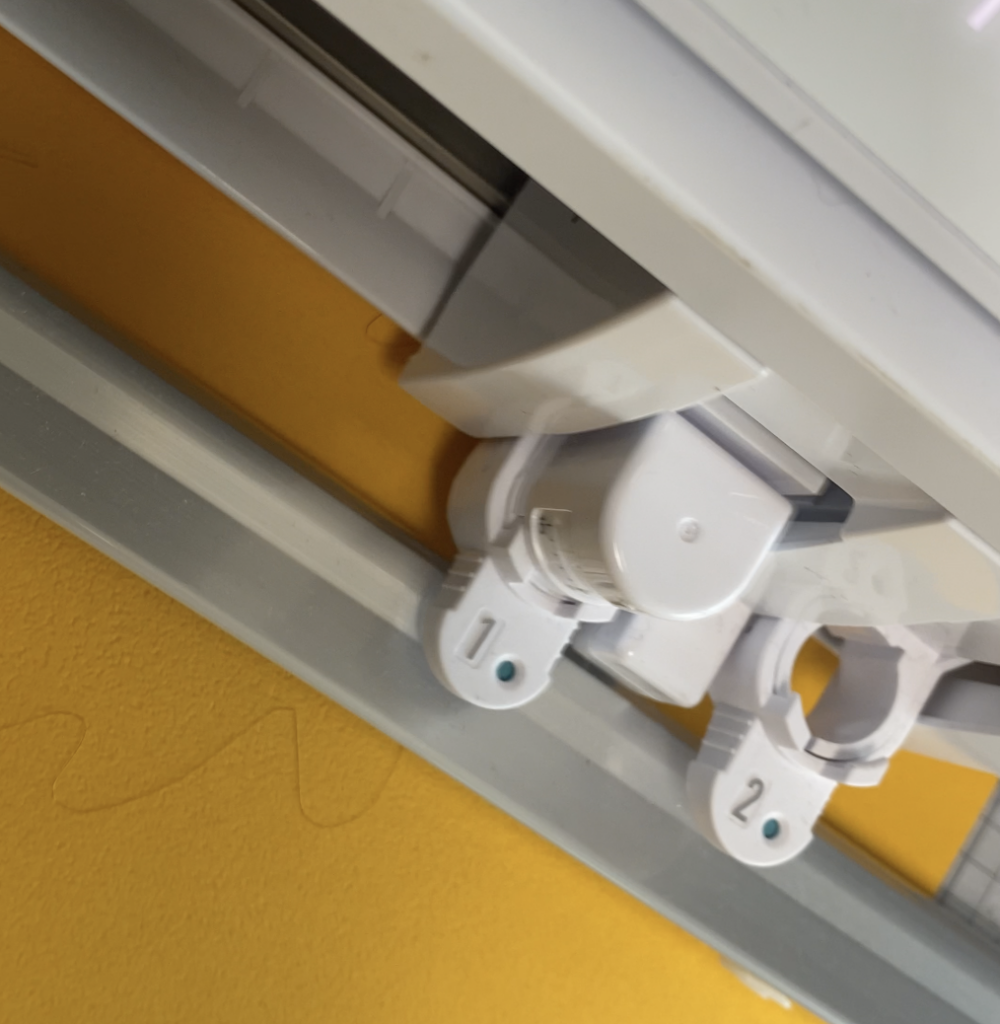
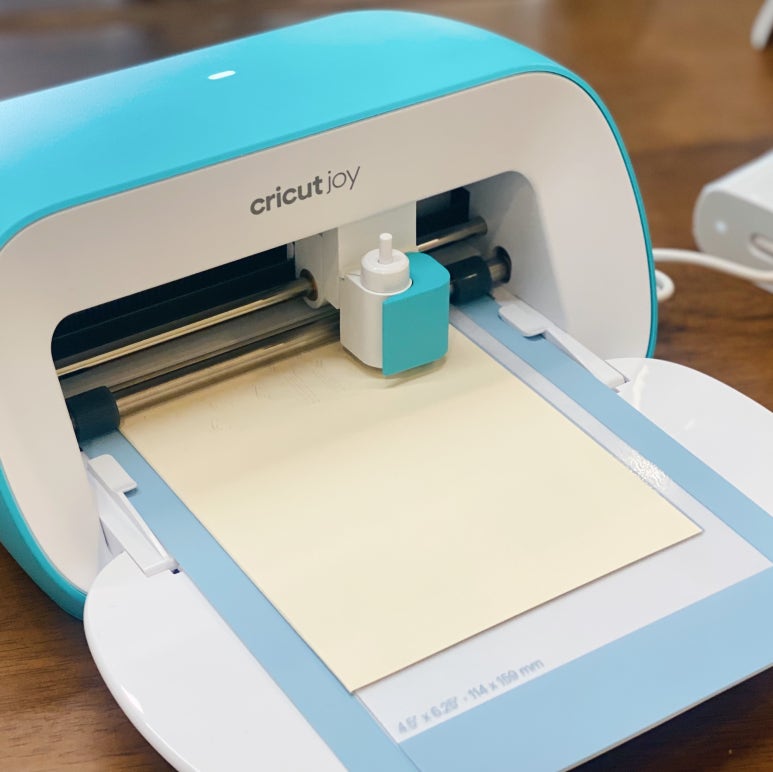
As a professional paper florist, you will eventually find yourself creating large-scale installations or exhibition pieces. Hand-cutting hundreds of individual petals can feel like a test of your ultimate patience. This is when the “ultimate” auxiliary tools for paper flower art—digital cutting machines like the Silhouette or Cricut—shine the brightest.
When I first introduced a cutting machine into my workflow, I worried, “Will this diminish the value of my handmade art?” However, the result was exactly the opposite. By entrusting the repetitive and simple cutting process to these smart auxiliary tools for paper flower art, I was able to dedicate much more time and energy to the “shaping” and “coloring” stages—the parts where I give each petal its unique expression. The efficiency of a machine that cuts intricate designs with 0.1mm precision will undoubtedly expand your creative spectrum.
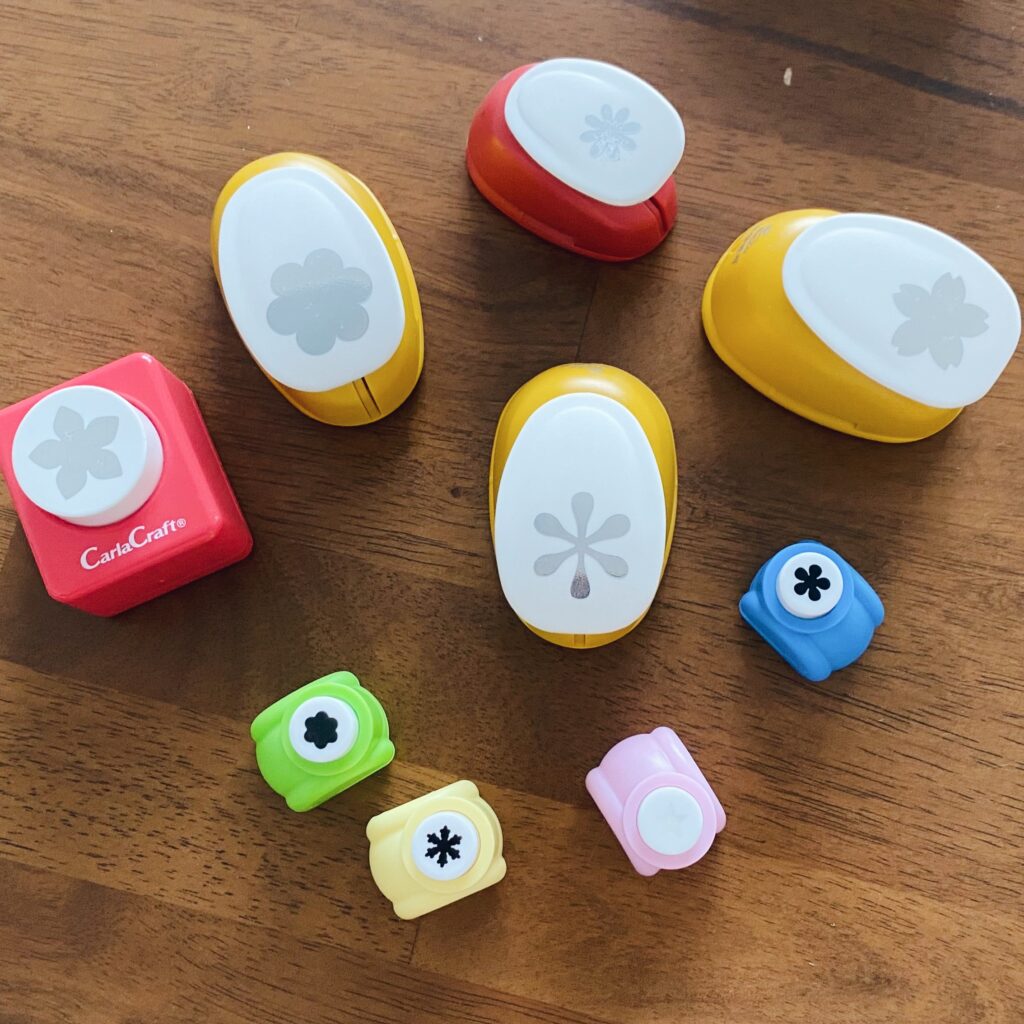
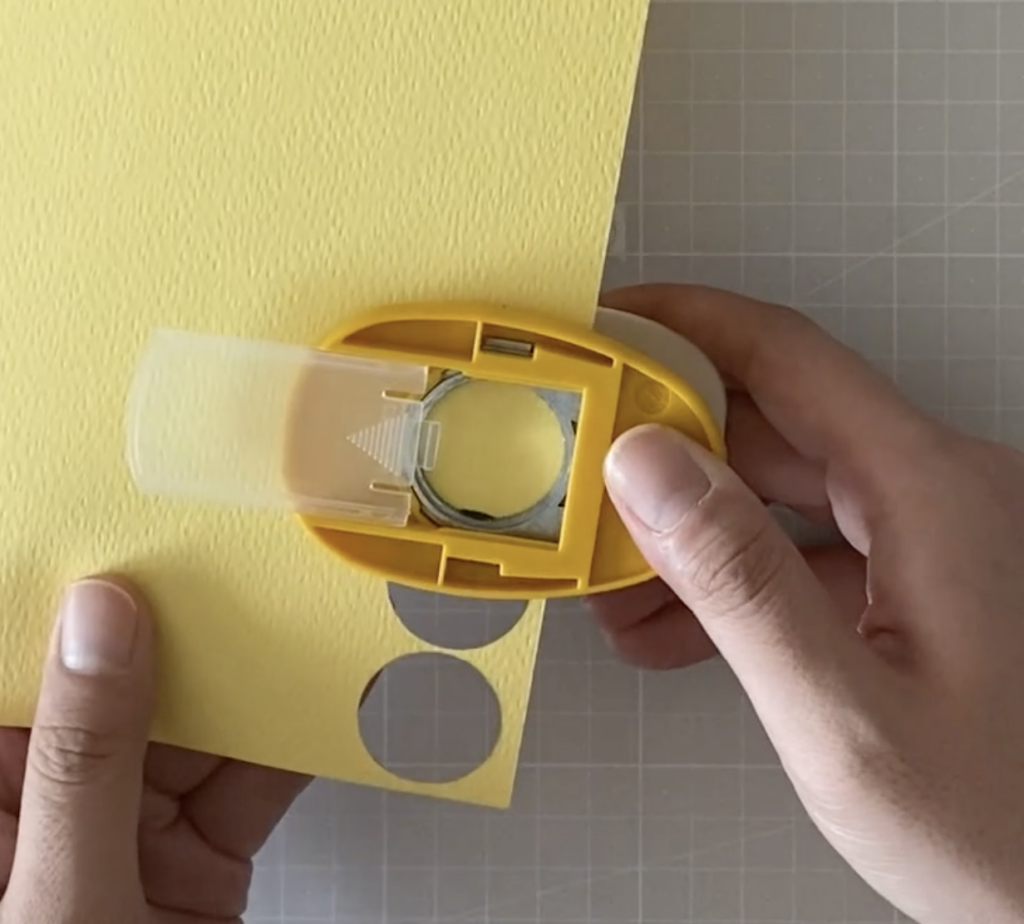
Are you still hesitating to invest in a digital cutter? If so, “shape punches” are a fantastic alternative. These auxiliary tools for paper flower art are accessible, easy to use, and can cut consistent shapes like small flowers or stamens in seconds. They are also incredibly useful for children’s classes. My 36-month-old child loves punching holes in paper with them! My very first purchase was a daisy-shaped punch, and it made my detailed work significantly easier.
Protecting Your Precious Blades: Long-Nose Pliers and Nippers
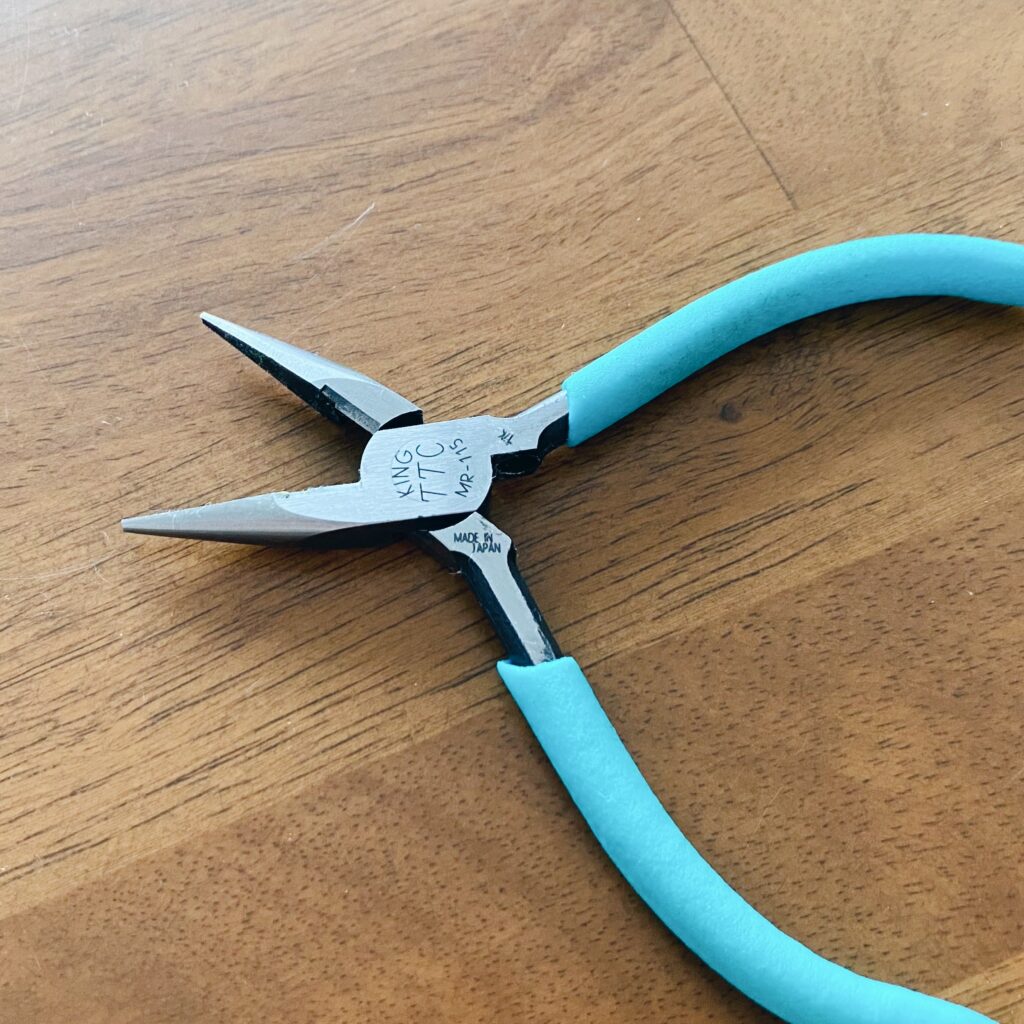
One of the most common mistakes beginners make is using their precision paper scissors to snip floral wire. Thinner wires like 27-gauge feel like they cut easily with craft scissors. However, the moment a paper blade touches metal, it suffers microscopic damage, and it will never cut paper smoothly again. To prevent this, a pair of long-nose pliers or nippers is an essential part of your auxiliary tools for paper flower art.
Using these wire-specific auxiliary tools for paper flower art allows you to adjust stem lengths freely. Furthermore, you can use the thin tip of long-nose pliers to bend the end of a wire into a hook, ensuring the flower head is securely fastened. To extend the life of your expensive scissors and ensure safety, I strongly recommend keeping nippers on your workbench at all times.
💡 When Should You Invest in Auxiliary Tools for Paper Flower Art?
| Your Current Challenge | Recommended Auxiliary Tool | Expected Benefit |
| Petals look too flat or rigid | Ball Tools & Embossing Mat | Natural curves and organic 3D volume |
| Messy assembly or shaky hands | Precision Tweezers | Accurate placement and clean finishing |
| Hand fatigue or lack of time | Shape Punches & Cutting Machines | Faster production and more time for artistry |
| Scissors are becoming dull | Long-Nose Pliers / Nippers | Blade protection and sturdy stem structures |
The Power That Sustains Your Artistic World
Expanding your collection of auxiliary tools for paper flower art isn’t just about satisfying a desire for new gadgets. Learning to master a new tool is equivalent to adding another language to your artistic vocabulary. Rather than trying to have everything perfect from the start, I suggest acquiring tools one by one as you feel a “thirst” for more precision in your work.
The auxiliary tools for paper flower art I’ve cherished for years now feel like an extension of my own hands. The time spent cleaning and maintaining these tools is also a vital part of my routine as an artist. I hope you, too, find joy in filling your own toolbox as you explore the deep and beautiful world of paper flowers.
I hope today’s guide on auxiliary tools for paper flower art has been a helpful companion on your creative journey. In the next post, I will return with intermediate techniques to maximize paper textures using these very tools. If you have any questions, feel free to leave a comment below!